Last updated on
Explore innovative shipping container garage ideas that can revolutionize your storage and workspace solutions, offering both durability and design flexibility.
I’m proud to have written and illustrated this article on 20 Innovative Shipping Container Garage Ideas and Setup Tips, and I hope you enjoy exploring these concepts as much as I enjoyed creating them.
Shipping container garages are a rising trend in the world of home decor, offering a unique, cost-effective, and sustainable solution for storage and workspace needs. This article delves into a variety of innovative shipping container garage ideas, covering everything from design concepts and layout plans to customization options.
Whether you’re looking for a simple single-container garage or an expansive multi-container setup, we’ve got you covered. Stay tuned for a comprehensive guide that will help you transform a humble shipping container into a functional and stylish garage.
Stacked Shipping Containers for a Multi-level Garage

Stacking containers, a common practice in shipyards, paves the way for multi-level garages. By leveraging the inherent strength and durability of these steel structures, you can design an upper-level area for storing less-frequently-used items or a dedicated space for a specific hobby.
Here are the key points to consider:
- Structural Integrity: To ensure safety, employ a professional to confirm the containers can bear the weight of the intended purpose.
- Access: Incorporate a robust stair system or ramp for easy access to upper levels.
- Stair placement: Consider the structure and traffic flow of your property to place stairs in the least obstructive location.
- Corrosion Resistance: Treat the exterior with anti-rust paint to maintain the longevity and appearance of your structure.
- Ventilation: Incorporate adequate ventilation strategies to prevent any buildup of fumes or moisture.
Remember to apply proper safety measures in all steps, from design to usage. This method offers flexibility, allowing you to maximize the space available on your property.
Single Container Transformed Into a Compact, One-car Garage

Utilizing a single shipping container can create an ideal space for storing a single car. The advantage of this approach is inherent in the dimensions of the container: they’re typically either 20 or 40 feet in length, providing ample room for both vehicle storage and a modest workspace or tool storage area.
Key considerations for this concept include:
- 1. Ensure the site is prepared: A level concrete slab is typical for the base, although a compacted gravel pad can also suffice.
- 2. Choose a shipping container of suitable size: A standard 20-foot container is sufficient for most cars, but larger vehicles may need a 40-foot container. Using specialized services for oversized item shipping, such as those
provided by https://www.shiply.com/de/sperrgutversand/, can greatly
simplify the logistics of transporting large containers and equipment. - 3. Opt for container modifications as needed: A roll-up door on one end can make vehicle access easier, while installing a man-door on the side can provide convenient access without opening the larger door.
- 4. Insulate if needed: If the garage will see use in colder months, insulation will be essential to keep the internal temperature above freezing.
- 5. Indoor lighting: Proper lighting ensures a safe and efficient workspace.
Remember, while a shipping container can make for a low-cost and eco-friendly garage option, it’s vital to adhere to all local building codes and permit requirements before beginning this project.
Paint and Adorn the Exterior to Make It Blend With Your House

To successfully integrate the garage into your existing home’s architecture, consider a fresh coat of paint matching your main house. Textured or faux finishes can also add visual appeal.
Key Points:
- Extensive Color Palette: With paints, the color options are unlimited. Choose a color that complements your house’s exterior for unity.
- Texture and Faux Finishes: Introduce depth and character using textures or faux finishes. Consider brick or stone finishes if they match your home’s style.
- Stencils and Murals: For a unique appearance, consider using stencils or even commission a mural.
- Lighting: Consider exterior lighting, that highlights the paintwork at night, adds aesthetic value, and provides security.
- Exterior Decor: Hanging plants, window boxes, or metalwork can provide final touch-ups. They not only enhance the exterior but also break the monotony of the shipping container’s structure.
Remember, the exterior decoration should reflect your personal taste while blending seamlessly with the rest of your property. Assess different ideas, visualize them, and select what suits you best.
Convert a Shipping Container Into a Secluded Motorcycle Garage

In proceeding with this transformation, special attention must be given to size and layout. Firstly, select a container that comfortably fits your bike with enough room for maneuvering. Commonly, a 10-footer should suffice for a single motorcycle. Extra space is more appealing for multiple bikes or if additional storage or workspace is needed.
Key points to ensure successful transformation:
- Doors: Preferably, a roll-up door should be installed for easy access and optimal use of space.
- Flooring: Consider adding a non-slip floor finish to increase safety when the floor gets wet from tires or other spills.
- Storage: Incorporate wall-mounted storage solutions such as cabinets and tool racks to optimize vertical space.
- Lighting: Install ample overhead lighting to provide a bright workspace, paired with task lighting in key areas.
- Insulation: To protect your motorcycle from extreme temperature swings, insulating the walls of the container is advisable.
- Security: Equip the garage with a robust lock system for added peace of mind.
By carefully considering these points, you can develop an efficient, secure, and practical garage setup that suits your individual motorcycle storage needs.
Partitioned Container for a Garage/workshop Combination
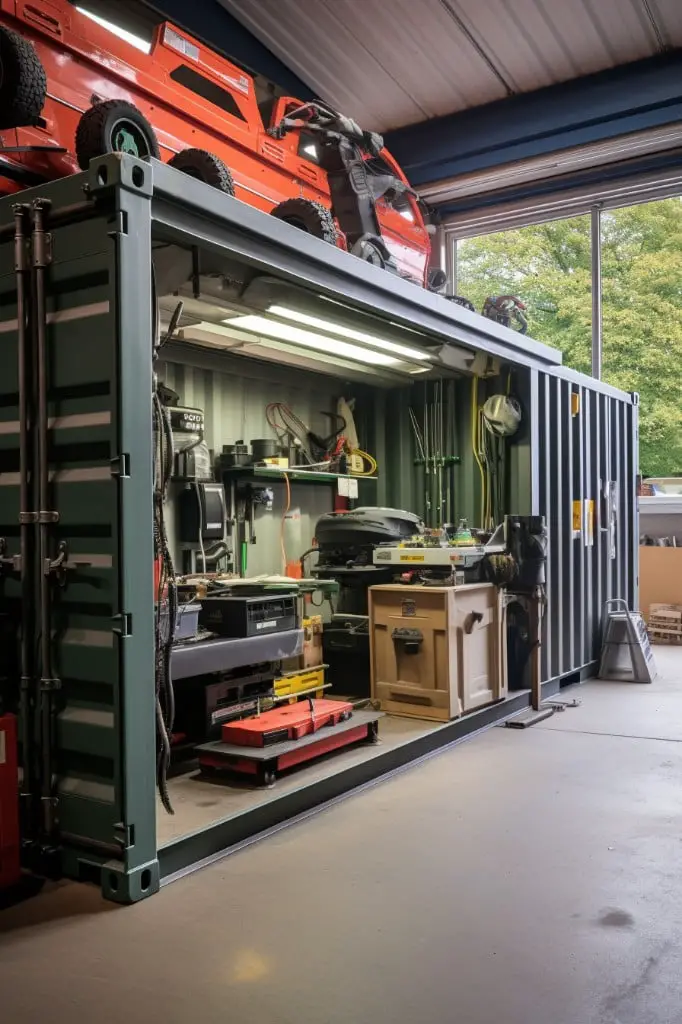
By partitioning a shipping container, it can conveniently serve a dual purpose – garage on one side, workshop on the other. This arrangement enhances user efficiency and optimizes the utilization of space.
Three Key points to consider:
- Space Allocation: Dedicate ample room for each functional area – a smaller portion for storing vehicles, the larger one for the workshop. Ensure movement is unrestricted on both sides.
- Equipment Storage: Install wall-mounted racks or pegboards on the workshop side for tools. Make sure you allocate space for larger equipment like workbenches or drill presses.
- Noise and Safety: Insulate the partition wall to minimize the transfer of noise. Safeguard your vehicle from potential sparks or dust arising from the workshop. Install a fire extinguisher as an additional safety measure.
Add Windows for Natural Lighting

Integrating windows into your container garage is not merely a matter of aesthetics, but also a smart and cost-effective way to save power. By taking advantage of natural daylight, you reduce reliance on artificial illumination.
Always be conscious of direction when placing your windows. A north or south-facing window garners sunlight throughout the day, while east or west-facing ones receive light in the morning and evening, respectively.
For active workspaces, high-positioned windows are ideal as they allow ample light to filter through without compromising privacy. Diffused light glass could be a practical choice to prevent direct sunlight that could lead to overheating.
Key points for consideration:
- Window position regarding the sun’s trajectory.
- Type and size of window for optimum light and privacy.
- The potential for overheating and preventive measures.
- Window security features, particularly for container garages housing valuable items.
- Double glazing for insulation properties.
- Egress windows for safety and emergency situations.
Install Solar Panels On Top for Sustainable Energy

Capitalizing on the flat and robust surface area of a shipping container is a smart move. Here, solar panels can churn out continuous, sustainable energy to power your garage and potentially your entire home.
Key Points:
- 1. Solar panels capture sunlight and convert it into electricity, lowering utility bills and reducing carbon footprints.
- 2. Shipping container roofs, with their flat and sturdy structure, are ideally suited for solar panel installation.
- 3. Professional, certified installers should conduct the installation process for optimal positioning, secure fit, and correct electrical connections.
- 4. Solar rebate programs, tax credits, and subsidies may be available to offset the installation cost.
- 5. Solar-powered garages can support various electrical needs such as lighting, tool operation, or electric vehicle charging.
- 6. An investment in solar technology not only delivers long-term financial savings but also contributes to environmental preservation endeavors.
Insulate and Climate-control for a Comfortable Workspace
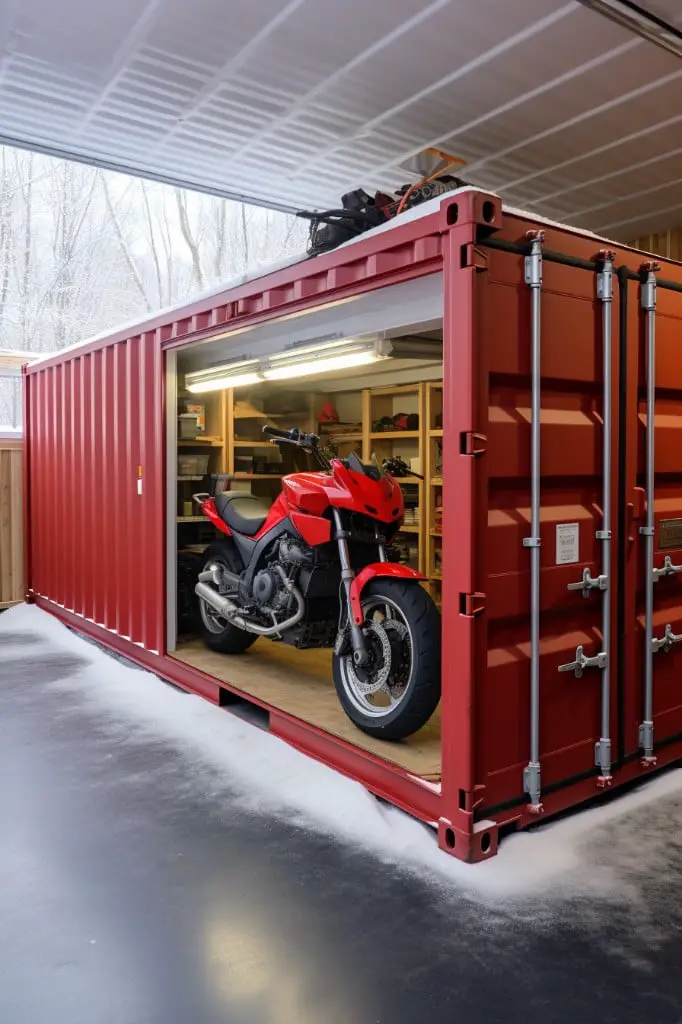
To ensure comfort while working in your container garage, insulation and climate-control are indispensable. The walls and ceiling of the container can be insulated using materials like spray foam, panel insulation or blankets.
Key points to consider:
- Insulation Material: Spray foam fills up the container’s crevices, ensuring no heat or cold air leaks. Panel insulation is less expensive and easy to install. Blankets are budget-friendly but require more labor for proper fitting.
Climate Control: Install a portable heating, ventilation, and air conditioning (HVAC) unit to maintain temperature and prevent moisture build-up. An alternative could be electric heaters or wood-burning stoves.
Ventilation: Proper ventilation is vital to prevent condensation which could lead to rust. Options include installing vents, exhaust fans, or having a dehumidifier.
By properly insulating and climate-controlling your container garage, you are not only ensuring a comfortable workspace but also prolonging the life of the tools and equipment stored within.
Container Garage With an Integrated Office Space

When considering the practical conversion prospect, the blend of workspace and storage in the same unit is a true game-changer. With space being a premium, integrating an office in your garage container maximizes utility and promotes cohesion between different aspects of your life.
Key details of this concept are:
- 1. Partitioning: Separate the workspace from the garage with a sturdy wall or divider.
- 2. Office Setup: Implement a desk, comfortable chair, filing cabinets and any required electronics like laptops or printers.
- 3. Climate Control: Insulation, a small heating/cooling unit, and ample ventilation ensure a comfortable year-round working environment, protecting sensitive equipment.
- 4. Lighting and Electricity: Install windows for natural light and high-quality artificial lighting for the workspace, sufficient electrical outlets for all office equipment.
- 5. Soundproofing: Consider including soundproofing measures if noisy garage activities would disrupt work.
Reinforce the Container for Additional Rooftop Storage Space

Transforming your shipping container rooftop into a valuable storage area requires three crucial steps: reinforcement, securement, and accessibility.
1. Reinforcement: Your container’s roof may seem robust, but it’s designed to withstand vertical, not horizontal, pressures. Therefore, reinforcing it with additional steel beams or plating is vital to ensure it can safely hoard your stuff.
2. Securement: Weather conditions can be unpredictable, so securing items is important. A combination of cargo nets and tie-downs can assure your items stay put during windstorms.
3. Accessibility: Utilizing a rooftop storage area means you’ll need reliable access. Sturdy ladders, installed either on the side or at the end of the container, should provide proper elevational accessibility. An overhead pulley system can simplify the lifting of heavy items.
Remember, consult with a professional to handle complicated processes like reinforcement, introducing necessary safety measures and compliance with local building codes.
Container Converted to a Carport With Open Sides

Opting for a carport-style design can offer both practicality and aesthetic advantage. By removing the long sides, you maintain the structural integrity of the durable shipping container while simultaneously creating an easily accessible open-space for your vehicle.
Here are some key points:
- Cost-Effective: Skipping the process of installing walls or doors cuts down on construction expenses.
- Quick Access: Park your car and get to it with ease, experience no restrictions encountered with doors.
- Ventilation: Open sides promote airflow, preventing any odor build-up from cars or any stored equipment.
- Visual Continuity: It provides an unobstructed view of the surroundings, keeping the aesthetics of your property intact.
- Lighting: Natural light freely enters the space, illuminating it and reducing the need for artificial lighting.
- Versatility: Although primarily for cars, it can also be utilized for other purposes like an outdoor gathering.
Remember to reinforce the remaining container walls and roof to ensure structural soundness. Subsequent customization options like adding a roof extension for added shade or installing a semi-permanent side screen for privacy or protection against weather can be considered.
Install Roll-up Doors for Easy Access
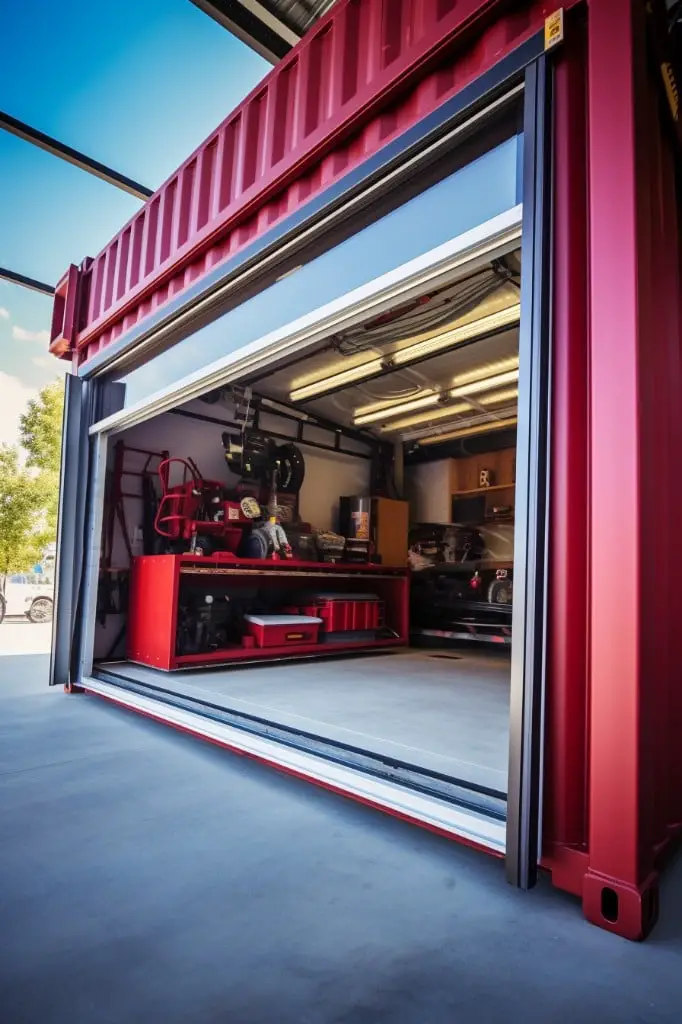
Roll-up doors, a popular choice for many modern garage designs, offer both utility and aesthetic benefits to shipping container garages. Their compact, space-saving nature suits the typically restricted dimensions of a container. To get the most out of your setup, consider these key factors:
1. Door Size and Placement: Measure your container carefully and choose a door that fits. Ensure enough clearance for opening and closing, typically at the front or end of the container.
2. Material: Opt for sturdy, rust-resistant materials such as aluminum or steel. Opting for high-quality material ensures a longer lifespan and minimal maintenance.
3. Installation: Professional installation is recommended to secure proper fitting, though avid DIYers could manage with a comprehensive guide.
4. Security: Check the lock mechanisms for effective security. Some models offer integrated locking systems, others require separate padlocks.
5. Insulation: If climate control is a concern, consider doors with built-in insulation to maintain internal temperature.
With these factors in mind, roll-up doors make a practical, stylish addition to your shipping container garage.
Add Shelving and Storage Solutions Inside

Maximizing storage space inside a container garage demands strategically installed shelving. Heavy-duty units are preferably floor-standing or securely bolted to the container’s sides to prevent tipping. Depth and height should accommodate items that need storage, from car parts to power tools. Well-attached pegboards or magnetic strips provide robust homes for hand tools and smaller items.
Use these key points as a guideline:
- Material selection: Opt for durable materials like steel or pressure-treated wood given the heavy weight of automotive parts and tools.
- Adjustable shelves: Choose shelving units with adjustable height options to accommodate a variety of stored items.
- Container wall strength: Keep in mind the strength of the container walls when attaching shelves. Use reinforcing brackets if needed.
- Organization: Invest in storage boxes, drawer dividers, and labels to increase organization.
- Overhead racks: Consider overhead storage solutions such as racks for lighter, infrequently used items.
- Corners: Use corner shelves to maximize space usage in the container.
Large, Multi-container Garage for a Home Mechanic’s Shop

If you’re a home mechanic requiring ample space for all your auto repair endeavors, consider arranging several containers side-by-side or in a rectangular format. This configuration can easily accommodate multiple vehicles, a good-sized workbench, all the necessary tools, and even a hoist for more serious undertakings.
Key Points:
- Spacious Design: Ample room for vehicle repairs and tool storage, courtesy of a multi-container design.
- Floor Planning: Consider a rectangular arrangement to maximize operational efficiency and to secure an ideal workflow.
- Ceiling Height: Ensure sufficient vertical space for vehicle lifts or hoists necessary for intricate automotive work.
- Partitioning: Separate different work areas for specific tasks, ensuring easy access and effective organization.
- Amenities: Make room for a small restroom or a break area; this space can double as a storage location for personal protective equipment.
Add a Foldable Workbench for DIY Projects
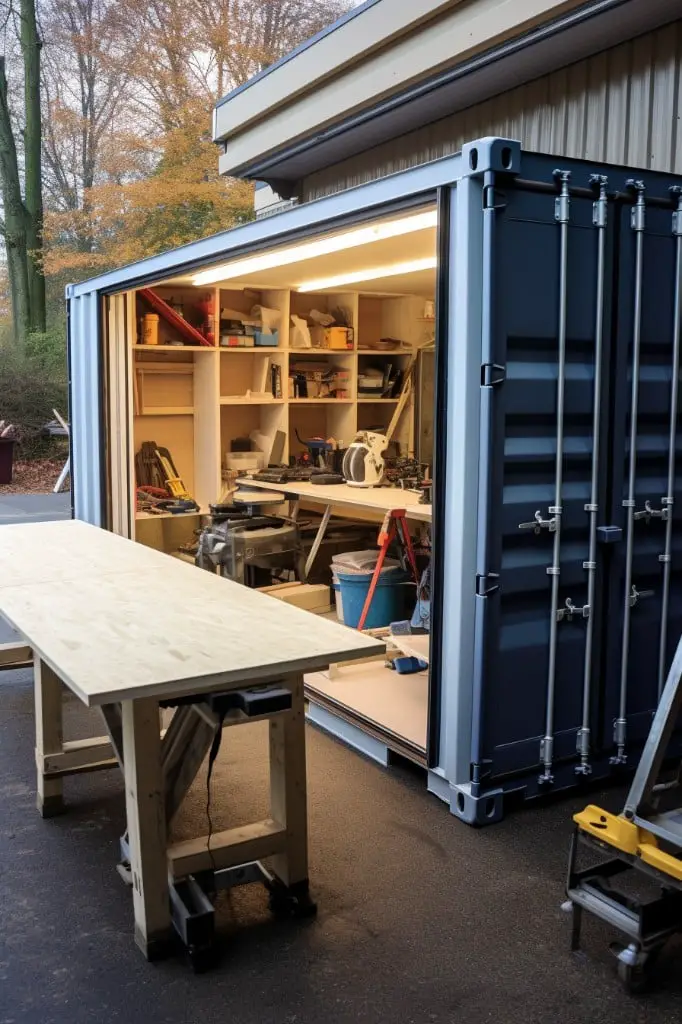
A foldable workbench within your container garage offers a versatile solution for DIY enthusiasts. It serves as a convenient spot for tinkering, crafting, or performing minor repairs on machinery or vehicles.
Key Points:
- Space-saving Design: Foldable workbenches collapse when not in use, providing ample room for parking or other storage needs.
- Versatility: They support various tasks like woodworking, metalworking, painting, or mechanics.
- Modular Options: Many designs come with built-in storage options like cabinets, pegboards, or drawers.
- Cost-effective: A range of options exist from high-end professional workbenches to budget-friendly DIY ones.
- Easy Installation: They can be easily installed on any wall within the container.
Undoubtedly, equipping your container garage with a foldable workbench can significantly enhance its functionality, providing a dedicated space for DIY tasks, and ensuring optimal utilization of space.
Line Containers to Create a Spacious, RV-sized Garage
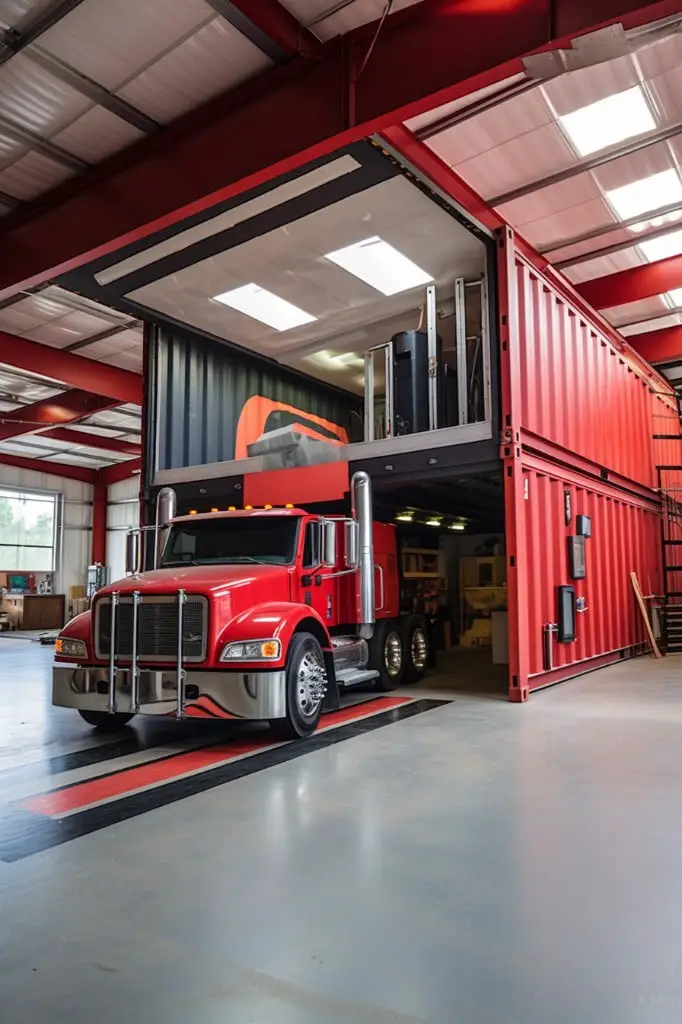
Capitalizing on the durability and modularity of shipping containers, a spacious garage fit for an RV is achievable. Here’s exactly how to make it happen:
1. Arrangement: Position multiple containers parallel to each other creating a broad covered area in-between.
2. Connection: Secure containers on a reinforced concrete foundation and weld them together for added strength.
3. Roofing: Install a pre-engineered truss roof to cover the span, ensuring a safe clearance height for the RV.
4. Accessibility: Incorporate large roll-up doors on both ends to allow easy movement of the RV.
5. Utility Zones: Allocate spaces within the containers for utility stations like a repair zone, washing area, or charging stations for your RV.
6. Ventilation & Lighting: Ensure cross-ventilation by installing windows at appropriate locations and use LED lights for energy-efficient illumination.
This strategy not only provides a spacious garage but the containers on each side can also be converted into handy storage or workspace.
Attach an Outdoor Garden or Patio to the Container Garage

Infusing nature into your home projects usually pays off and a shipping container garage is no exception. By attaching an outdoor garden or patio, you can create a multipurpose space that is not only functional but also aesthetically pleasing.
Key points:
- 1. Incorporating a patio can provide a relaxing space for breaks or casual gatherings. Utilize patio furniture for comfort and style.
- 2. Opt for suitable plants that not only enhance beauty but also purify the air. Consider succulents, ferns, or flowering plants.
- 3. If space permits, a vegetable or herb garden can be a bountiful addition, providing a source of fresh produce close to your workspace.
- 4. Ensure appropriate drainage and shading are in place to protect both your container garage and the garden.
- 5. Using similar color schemes or materials as the garage in the patio can ensure a seamless blend.
- 6. Space-saving ideas such as vertical gardens can be handy for smaller patios.
- 7. Container garden beds can also be a compatible choice, relating to the shipping container theme.
- 8. Installing a retractable awning can help control the amount of sunlight entering your patio and garage.
Remember, this doesn’t just add beauty and comfort to the space, it can also increase the value of your property. By marrying functionality and nature, you’d have a container garage that’s not only a delight to work in, but also a unique space to retreat.
Convert Into a Lockable, Secure Boat Storage

Adapting a shipping container into a secure, lockable boat storage provides the ultimate protection for your valuable watercraft. Its robust steel structure and ability to withstand extreme weather conditions make it an ideal choice. You can significantly enhance the container’s security by adding a high-quality, corrosion-resistant padlock.
Key Points:
- Precise Measurements: Take into account the dimensions of your boat, including the height and width, to select an appropriate shipping container. Consider adding extra room for easy access and maintenance tasks.
- Interior Protection: Consider installing soft padding or rubber matting on the container walls to safeguard the boat from scratches or dents.
- Ventilation: This is critical to prevent moisture buildup, potentially damaging your boat. Incorporate vent installations on both sides of the container for cross-ventilation.
- Security: Amplify the safety by using anti-theft lockboxes, security cameras, or alarm systems.
Customize With Bright Lighting and Electrical Outlets
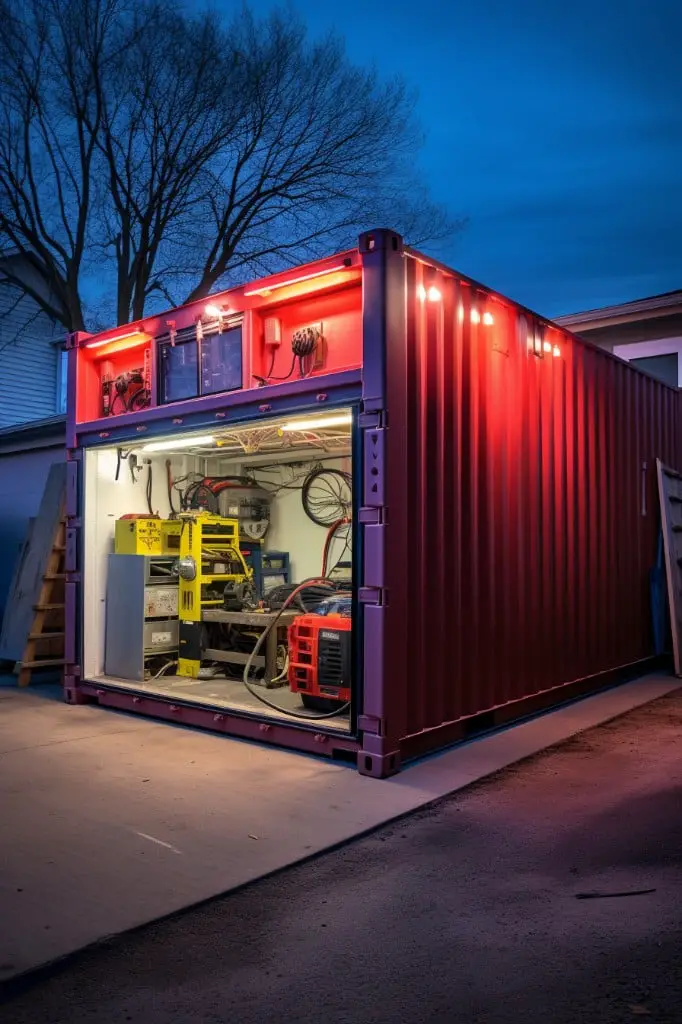
Incorporating bright lighting and electrical outlets into your container garage greatly enhances its functionality.
1. Strategically Position Lighting Fixtures: Put general lighting near the ceiling and task lighting over workspaces. Opt for bright, energy-efficient LED lights for a low-maintenance solution.
2. Install Adequate Outlets: Power tools, lighting, and charging stations for your vehicles all require electricity. Ensure you add plenty of outlets for these and future needs.
3. Electrical Safety Measures: Install GFCI (Ground Fault Circuit Interrupter) outlets in moist areas to protect against electrical shocks. Use conduit for wiring to curtail damage.
4. Home Automation: Integrate smart light switches and outlets into your home automation system for added convenience and energy effectiveness.
5. Professional Installation: Enlist a certified electrician to ensure the electrical wiring and fittings conform to your regional coding requirements.
Remember, the key to an efficient garage revolves around your specific need and customization, counting the lighting and electrical solution among the top essentials. Be sure to plan and implement these features into your shipping container garage meticulously to create an ideal space.
Combine Living Space and Garage in One Multi-purpose Container

To maximize space and utility, integrating your living quarters with your garage takes strategic planning and thoughtful design. Freeing up the rest of your property means you can maximize space in your garden or outdoor recreational area.
Key considerations include:
- 1. Partition Placement: Where the living quarters end and the garage begins should be clearly defined yet seamlessly integrated.
- 2. Insulation and Climate Control: Insulating your container is non-negotiable not only in the living area but the garage too. It protects against harsh weather and helps regulate interior temperatures.
- 3. Soundproofing: Use sound-absorbing materials to ensure noises from the garage don’t infiltrate your living space.
- 4. Ventilation: Proper airflow is essential to circumvent buildup of vehicle exhaust fumes. Exploring automated ventilation systems is beneficial.
- 5. Safety Precautions: Implement fire and carbon monoxide alarms for protective home measures. An easily accessible fire extinguisher is a must-have.
- 6. Design: Make sure the living space feels homely yet practical. Minimize clutter, optimize storage, and create a comfortable, aesthetically pleasing environment.
Related:
