Last updated on
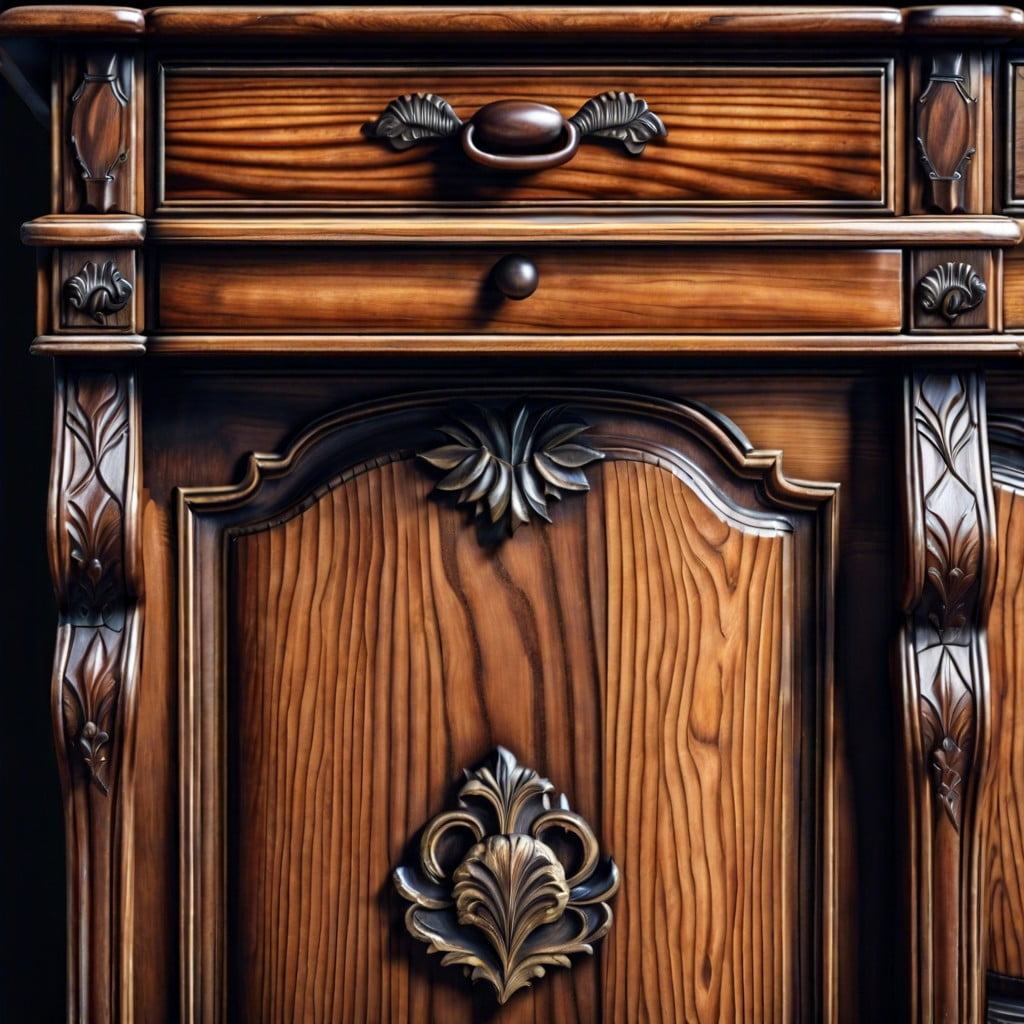
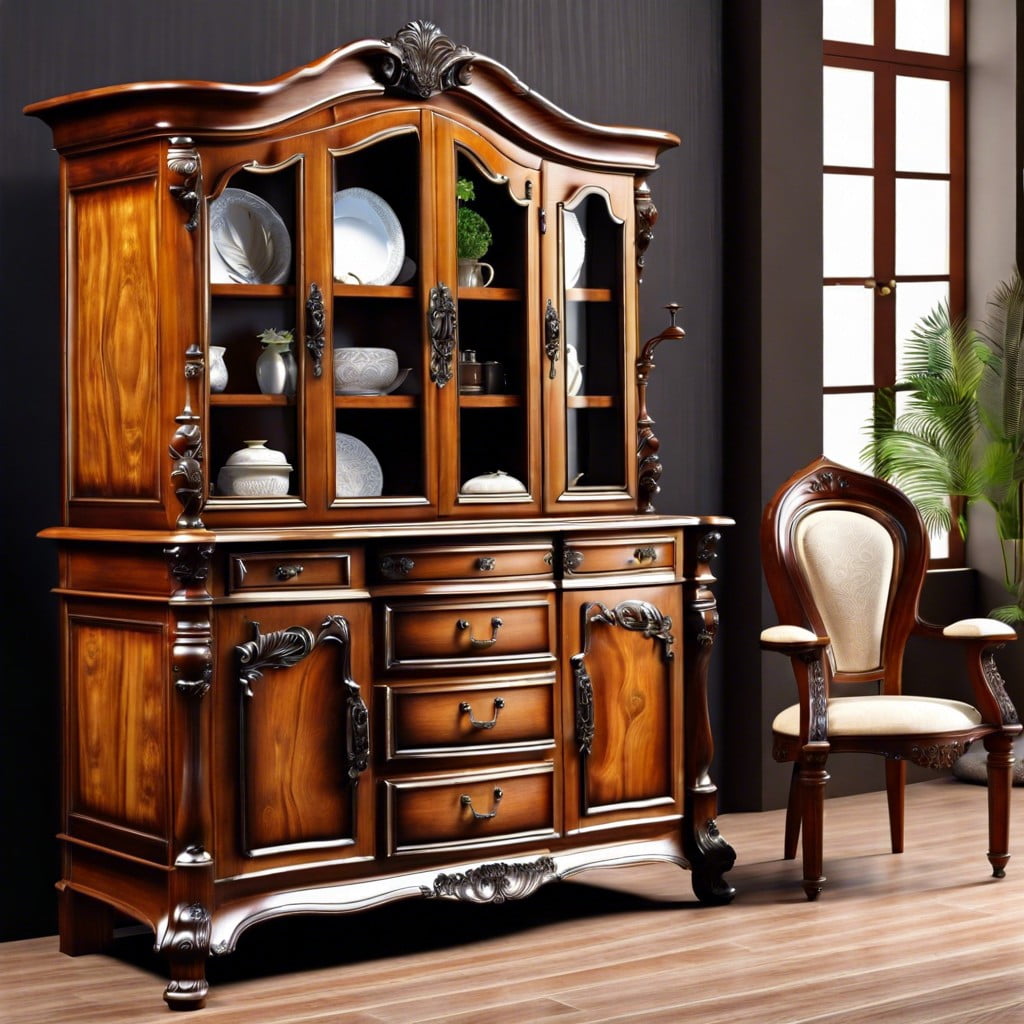
Preserving antique wood furniture’s aesthetic and historical value requires specialized cleaning methods because incorrect techniques can cause irreparable damage.
Key takeaways:
- Consider age, material, finish, existing damage, and value preservation
- Identify wood type and finish before cleaning
- Spot test to determine type of wood finish
- Prepare supplies and clean in a clear workspace
- Dust gently, clean with appropriate solution, and protect with wax coating
Understanding Your Antique Wood Furniture

Recognizing the unique characteristics of your antique wood furniture is critical for effective cleaning without damaging the piece. Here are important points to consider:
- Age and Provenance: Consider the era and origin as older pieces may be more fragile and require extra gentle care.
- Material Variations: Different woods, like oak, pine, or mahogany, react uniquely to cleaning agents and should be treated accordingly.
- Finish Type: Oil, wax, shellac, or varnish finishes each interact with cleaning methods differently; identifying the finish helps in choosing the right cleaner.
- Existing Damage: Check for pre-existing issues such as cracks, splits, or loose joints that might affect the cleaning process.
- Value Preservation: Cleaning should maintain or enhance the piece’s value, taking steps to avoid reducing its worth through inappropriate cleaning techniques.
Acknowledging these factors helps protect your antique wood furniture while ensuring a thorough clean.
Identifying the Type of Wood and Finish

Identifying the wood and finish on your antique furniture is crucial before you begin the cleaning process. Here are some tips to help you ascertain what you’re working with:
- Examine the color and grain pattern. Hardwoods like oak, mahogany, and walnut have distinctive grain patterns and coloring that can often be recognized on sight.
- Check for markings or labels. Manufacturers may have marked the wood type somewhere on the piece.
- Perform a finish test. Apply a drop of oil-based furniture polish to an inconspicuous area. If it soaks in, the wood likely has an oil finish. If it doesn’t, you’re probably dealing with a varnished or lacquered surface.
- Consider the patina. Age can alter the color of wood finishes, giving antiques a warm, deep hue that’s typical of shellac or certain oils.
Taking these steps ensures you approach the cleaning process mindfully to preserve the integrity of the wood and finish.
Determining and Testing the Wood Finish
To ascertain the type of finish on your antique wood, perform a simple spot test in an inconspicuous area:
1. Oil Finish Test: Rub a few drops of boiled linseed oil into the wood. If it soaks in, the wood likely has an oil finish.
2. Shellac or Lacquer Test: Apply a small amount of denatured alcohol in a discreet spot. Shellac will dissolve quickly. If the finish softens but does not dissolve, it may be lacquer.
3. Varnish or Polyurethane Test: Test with a few drops of acetone on a cotton swab. Varnish or polyurethane will soften.
Remember to apply any liquids sparingly to avoid damage. The result will guide your choice of cleaning method, ensuring the preservation of the furniture’s integrity.
Preparation for Cleaning Antique Wood Furniture
Gather necessary supplies such as soft cloths, gentle cleaners, and soft-bristled brushes. Ensure adequate ventilation in the cleaning area to prevent strong fumes from cleaners and polishes. Remove any items from the furniture that aren’t permanently attached, like glass or hardware, to avoid damage during the cleaning process.
Test the chosen cleaner on a small, inconspicuous area of the furniture to ensure it doesn’t damage the finish or wood. Have clear work space to avoid clutter and potential accidents that could harm the antique piece. Remember to work gently and be patient; antique wood is delicate and requires careful handling.
Dusting Antique Wooden Furniture: The First Essential Step
Begin the dusting process with a soft, lint-free cloth or a microfiber duster to gently wipe the surface. It’s essential to avoid using feather dusters as they can scratch the wood’s delicate surface. Pay close attention to carved details and crevices where dust often accumulates.
For intricate woodwork, use a soft-bristled brush, such as a paintbrush or a toothbrush, to dislodge dust particles without causing damage. Lightly brushing in the direction of the wood grain can effectively reach and remove dust from nooks and tight spaces.
While dusting, alleviate the pressure on fragile areas to prevent stress on the antique wood. If the wood has loose particles or chipping finish, be particularly gentle to avoid exacerbating the condition.
Minimize dust attraction by ensuring your cleaning tools are clean and dry before use. This helps prevent the transfer of oils or moisture that could harm the wood. Regular dusting, at least once a week, will help preserve the furniture’s integrity and appearance.
How to Clean Antique Wood Furniture: Step By Step
Begin with a gentle, soft-bristled brush or clean, dry cloth to remove surface dust. For deeper cleaning, prepare a solution of mild dish soap and warm water. Dip a soft cloth into the soapy water, wring it out to almost dry, and gently wipe the wood. Avoid saturating the wood with water, as this can cause damage.
In the presence of stickier residues, opt for a solution made from equal parts water and white vinegar, which can help break down grime without harming the wood. Again, use a soft cloth, and make sure it’s well wrung out before application.
After treating with the cleaning solution, take a clean, damp cloth to rinse the area, ensuring no soap residue remains. Follow up with a dry, soft cloth to remove any lingering moisture. Rapid drying helps prevent water damage such as warping or staining.
Finally, if the finish allows, apply a small amount of high-quality furniture polish or wax with a soft cloth for added protection and sheen. Buff in a circular motion, transitioning to straight strokes for a uniform appearance. Make sure to always test these products on an inconspicuous spot beforehand to avoid unwanted reactions.
How to Clean Antique Wood Furniture With Mildew
Begin by gently removing surface mildew with a soft brush or cloth to prevent embedding spores into the wood. After dusting, mix a solution of equal parts water and rubbing alcohol or denatured alcohol. Dampen a soft cloth with the solution and wring it out well to avoid excess moisture, which can damage the wood. Test this cleaner on a small, inconspicuous area to ensure it doesn’t affect the finish.
Working in small sections, wipe the wood gently, frequently rinsing the cloth and applying more of the alcohol solution as needed. Be careful not to saturate the wood; the goal is to dampen it just enough to clean away the mildew. For stubborn spots, you might use a soft toothbrush, but do so sparingly and with light pressure.
After the mildew is removed, dry the surface thoroughly with a clean, soft cloth. Ensure that the furniture is completely dry before returning it to its usual location to prevent any further growth of mildew. As a preventive measure, consider using a dehumidifier or maintaining adequate air circulation around the furniture to reduce humidity levels.
Cleaning Antique Furniture Depending On the Finish
Each type of finish on antique wood furniture requires a specific method of cleaning to preserve its integrity. For shellac or lacquer finishes, lightly dampen a soft cloth with water mixed with a bit of mild detergent. Wipe gently and follow immediately with a dry cloth.
Oil finishes, on the other hand, benefit from a light application of a high-quality furniture oil to nourish the wood.
Varnished or polyurethane finishes can handle a slightly damp cloth with a water-based cleaning solution, but be sure to avoid excessive moisture that can seep into and damage the wood.
Should you encounter wax-coated surfaces, a wipe with a soft cloth suffices, and occasional re-application of a quality paste wax will keep it looking its best.
Remember, before applying any product or method, always test in an inconspicuous area to ensure it does not damage the finish.
Adding a Wax Coating
After thoroughly cleaning your antique wood furniture, a layer of quality wax can be applied to protect and enhance its finish. Choose a paste wax that’s specialized for antiques or fine furniture. Apply a thin layer with a soft, lint-free cloth, working in the direction of the wood grain. Allow the wax to dry—which typically takes about 20 minutes—until it appears hazy.
Once dry, buff the surface with a clean cloth, again following the grain, to bring out a gentle sheen. If desired, apply a second thin coat for extra protection, particularly on tabletops or other high-use surfaces. Remember, the goal is to achieve a polished look without causing buildup, so applying wax sparingly is key. Regular waxing every few months can sustain the appearance and integrity of the wood.
Post-Cleaning Care of Antique Wooden Furniture
After the meticulous cleaning process, the longevity of your antique furniture largely hinges on consistent and appropriate care. Positioning furniture away from direct sunlight prevents the fading of wood and protects it from drying out. Likewise, maintaining a stable environment with controlled humidity levels—ideally between 40%–60%—wards off the warping and splitting of wood.
Dust regularly using a soft, lint-free cloth to avoid buildup that can scratch and dull the surface. For an added layer of protection, apply a high-quality furniture wax every six months, buffing to a soft sheen which enhances the patina and provides a barrier against spills and dirt.
Be vigilant about the use of coasters under any glasses or mugs to prevent water rings and avoid placing hot items directly on the wood surface to reduce the risk of scorching or heat marks. In the event of spills, immediate blotting—rather than wiping—can prevent the moisture from penetrating the wood and causing damage.
Embracing these practices ensures your antique wood furniture retains its beauty and historic value for future generations to appreciate.


